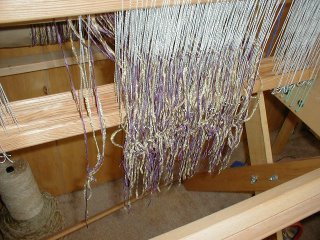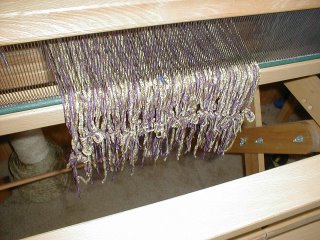
Anyway, I did a little more work on the scarf this weekend. The next step is to thread the heddles according to the pattern you're working with. As you can see, the alternating color scheme starts to become more obvious at this point.
Then you have to sley the reed. This means taking each thread, or in this case two threads at a time, and pulling them through the reed. The reed serves to keep the threads at the proper width, and it also is what you use
 to beat the heck out of the threads that you actually weave with.
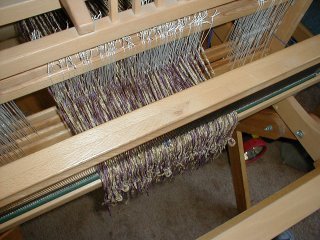
So now this is what it looks like from the top. The next step is to tie the whole thing onto the front, and then it's time to start weaving! With any luck that'll be this coming weekend.

1 comment:
M - sending your blog to mom, maybe she will be inspired to get her loom back up and running - I had no idea how much work it is before you can even start weaving! You DEFINITELY have more patience than me.
Post a Comment